
Running Shoe Fit Myths That Cause Pain (and Returns)
Common running shoe fit myths lead to blisters, numb toes, and knee pain. Learn better signals and a 10-minute try-on checklist.
Why “close enough” fit hurts: the online shoe trap
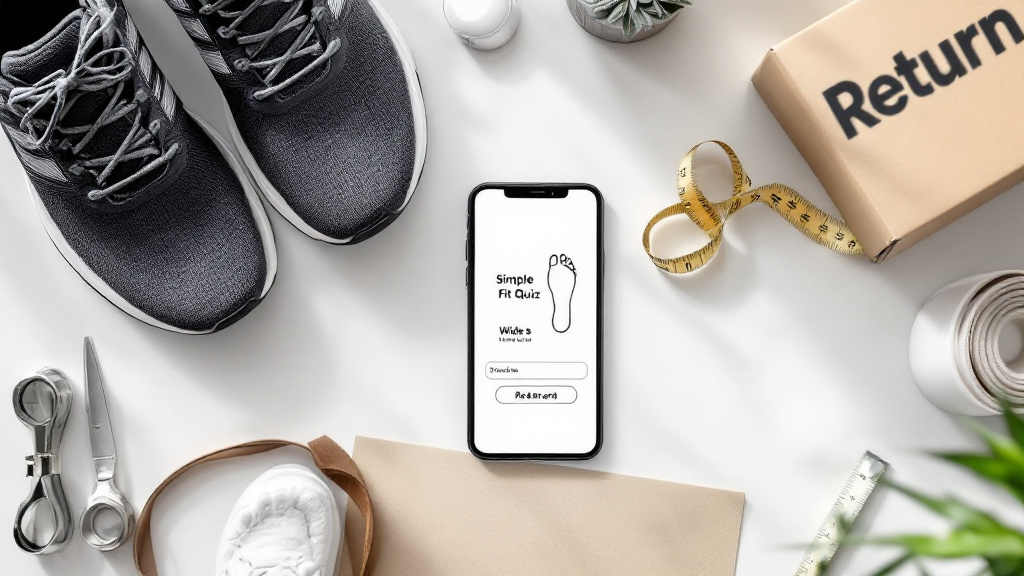
Buying running shoes online is convenient, but it’s also where running-shoe-fit myths quietly turn into blisters, numb toes, and flare-ups that feel like “bad knees” or “tight calves.” For beginner-running and recreational runners, the hardest part isn’t picking a cool color—it’s translating your body (foot width, arch height, past pain) into a shoe that matches your mechanics.
Most painful mistakes happen for predictable reasons: people chase a single number (their old size), overcorrect for fear of swelling, or assume more structure automatically means more safety. That’s why injury-prevention starts with understanding what good fit feels like, not just what the box says.
At StrideGuide Running Co., we see the downstream effect every day: discomfort becomes second-guessing, and second-guessing becomes returns. The goal of better guidance—via a quick fit quiz and spec-based filters—isn’t to eliminate exchanges; it’s to help you land on the right pair faster, with less friction and fewer miles spent “trying to adapt.”
3 fit myths that drive pain—and what the body is actually telling you
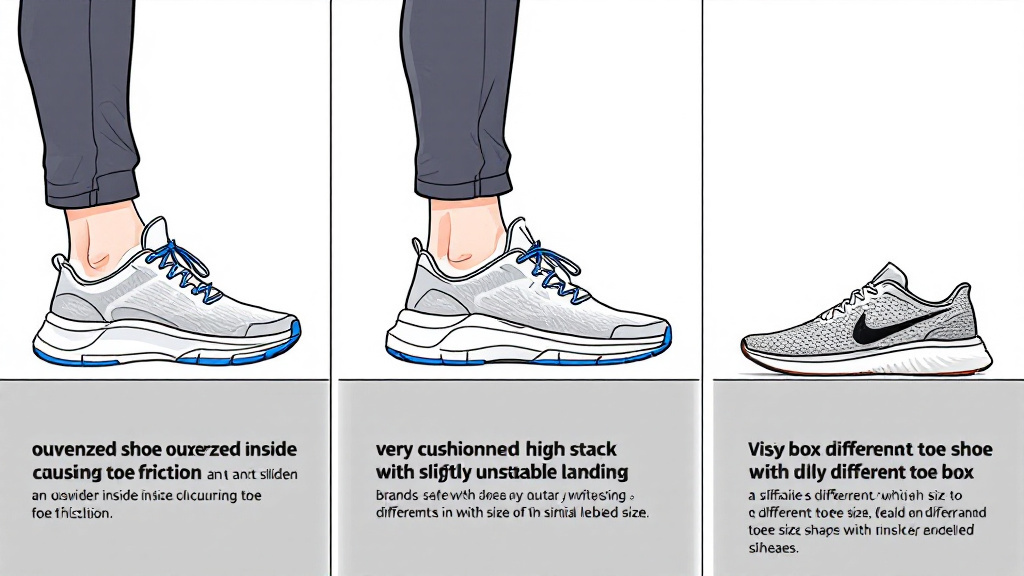
Myth #1: “Size up for swelling.” A little extra length is fine, but too much volume lets the foot slide, increasing toe bang and blister friction. Instead of guessing, focus on shoe-sizing signals: secure heel, midfoot held without pressure points, and enough toe room to splay.
Myth #2: “More cushion equals safer.” Cushion can reduce impact feel, but it can also change stability and loading. If you’re getting knee irritation, it may be a mismatch in geometry (drop, stack) or support—not a lack of foam. Pay attention to whether the shoe feels wobbly on landings or forces your stride to “search” for balance.
Myth #3: “All brands fit the same.” Last shapes vary: one brand’s 10 can be another’s 9.5 in length and a full step different in forefoot width. Treat each model as unique, and use specs (width options, heel counter firmness, drop) to compare apples-to-apples rather than trusting the label.
The first 10 minutes checklist: catch hot spots before they become injuries (or returns)
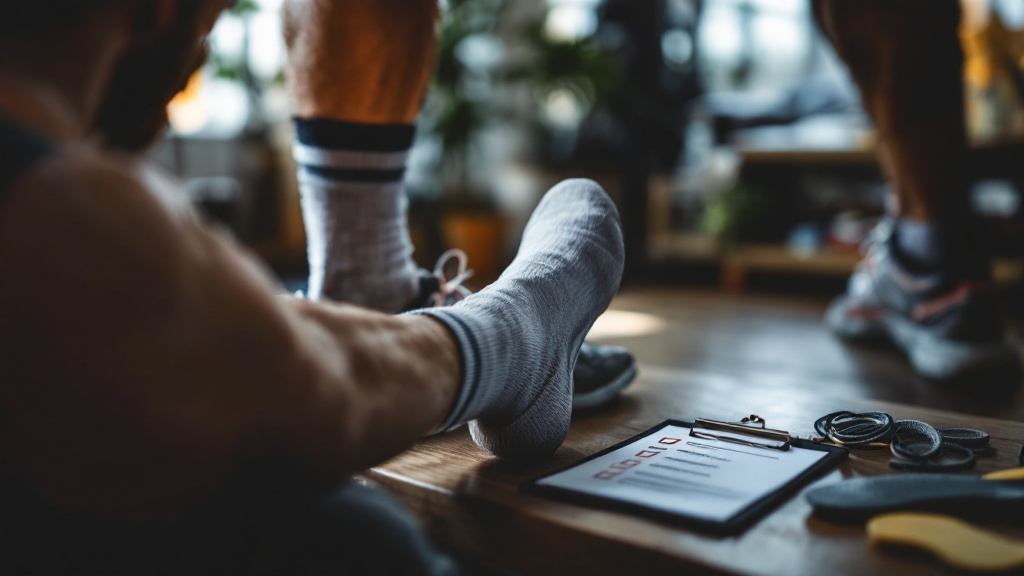
Use this 10-minute test at home (ideally with your running socks). 1) Lace up and walk briskly: heel should stay planted—no lift or rubbing. 2) Stand and gently rock forward: you want about a thumb’s width in front of the longest toe without the foot sliding. 3) Do 10 calf raises: if your toes claw or go numb, the forefoot may be too narrow or the laces too tight over the midfoot.
Next, do 30 seconds of light jogging in place. Notice: any immediate “hot spot” on the heel or arch, tingling in the toes, or pressure on the big toe joint. Those are early warnings for blisters and nerve irritation—key injury-prevention cues. Also check knee feel: if the shoe feels unstable or forces your foot inward/outward, don’t assume you’ll “break it in.”
If something feels off, don’t settle—use an exchange. StrideGuide’s guided recommendations and low-friction returns loop make it easy to try a nearby size/width or a better-matching model, and then save the winner for one-click reorders.